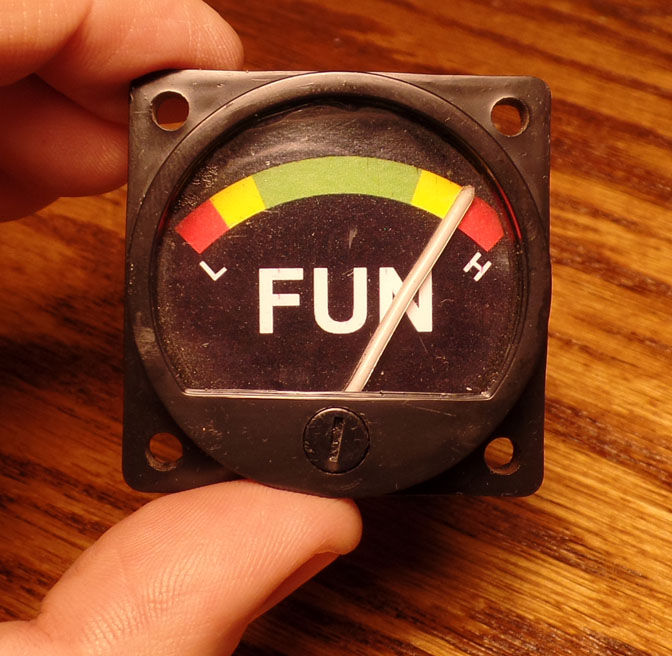
One of the nice fripperies my Fly Baby used to
have is a "Fun Meter"... great when showing off the airplane.
Unfortunately, I had to pull it out when I rebuilt my electrical system, because that was the only place the transponder could go. Unfortunately, the Fun Meter was made from a 2" gauge, and there wasn't a clear piece of real estate on the panel big enough to reinstall it.
 I considered modifying the gauge to have it
surface mount, instead of needing a hole in the panel, but there
still weren't any good spots on the panel that would fit it
without looking crowded.
I considered modifying the gauge to have it
surface mount, instead of needing a hole in the panel, but there
still weren't any good spots on the panel that would fit it
without looking crowded.
Also...well, I didn't want to hack up my old Fun Meter. If it broke up, I'd have nothing.
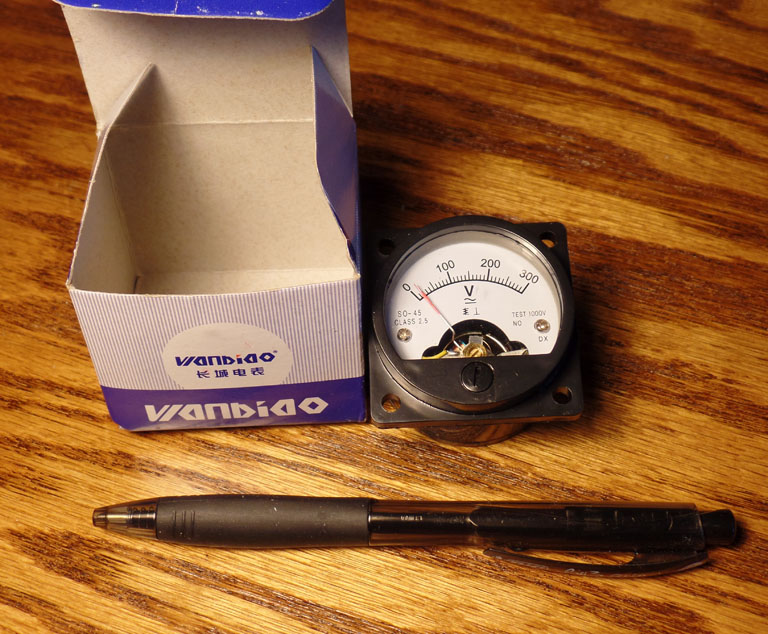
So I re-started from scratch. I found some 1.5" meters on Amazon, for the princely sum of $3.22 each.
Bought two, just in case. We're Amazon Prime, so got free shipping.
The meters were actually shipped from China, so it took almost two months to get here, but they finally arrived last week. The case is plastic with an aviation-style mounting flange. Yes, they're cheap meters...but they're held together with small Phillips screws, and disassemble pretty far.
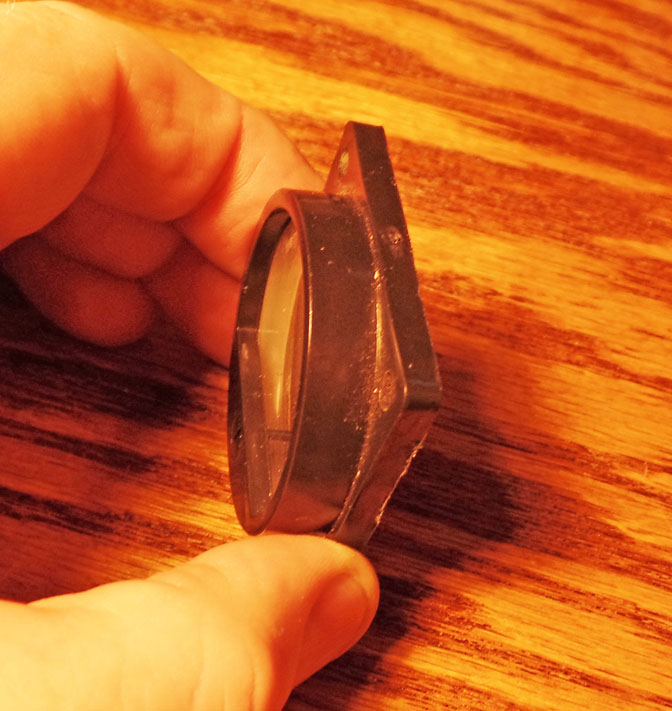 Took just a couple of seconds to pull the innards
out. The plastic is pretty soft, and it took just a minute
to cut off everything behind the flange.
Took just a couple of seconds to pull the innards
out. The plastic is pretty soft, and it took just a minute
to cut off everything behind the flange.
One great discovery was a gray flanged ring on the inside; it fit entirely within the newly cut-off section, but the flange would hold the new instrument face a fixed distance from the clear front.
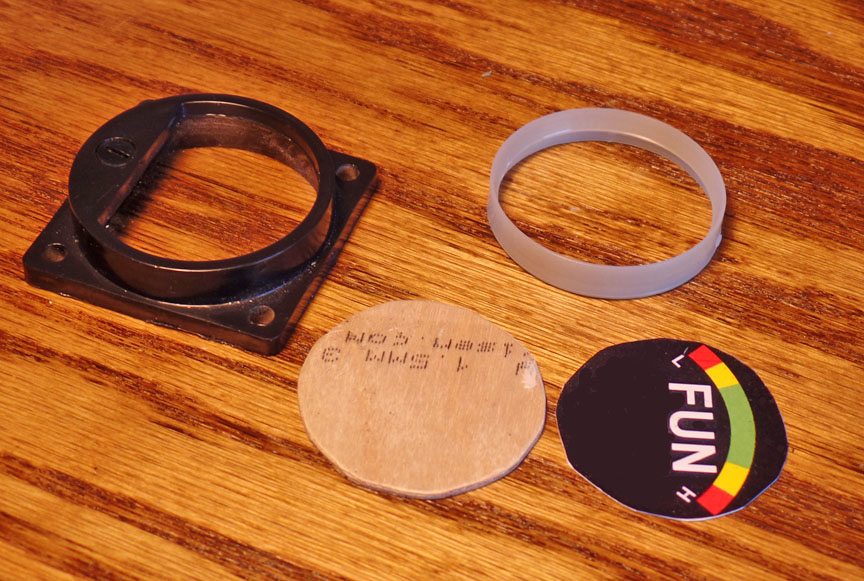 I used the old, metal face as a pattern, cut a
circle out of 1/16" plywood with a pair of scissors, and trimmed
it to fit inside.
I used the old, metal face as a pattern, cut a
circle out of 1/16" plywood with a pair of scissors, and trimmed
it to fit inside.
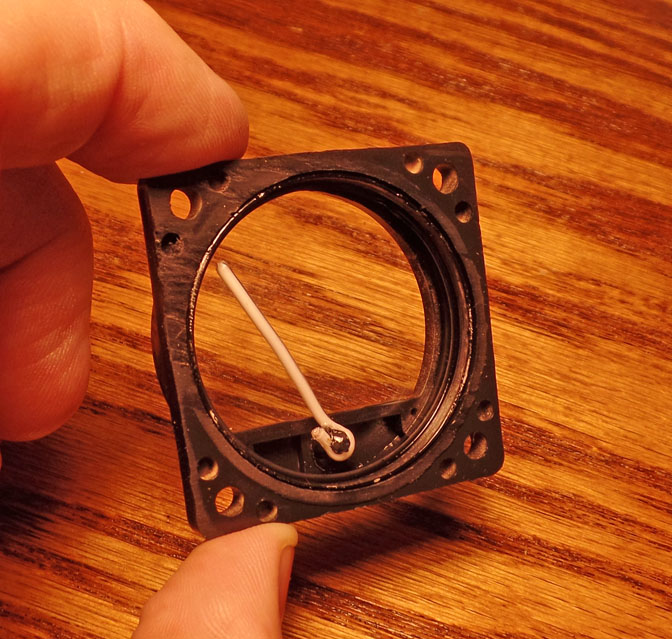
The new needle is a bit of 22 gauge electrical wire with white insulation. The lower front of the face has a bit screw head for adjusting the zero of the meter; the wire wrapped nicely around the inside stud connected and tacked on with a bit of super glue. This lets me actually adjust the reading.
 I duplicated my old "Fun Gauge" face, printed it
on photo-quality paper, cut it out and glued it to the plywood
disk.
I duplicated my old "Fun Gauge" face, printed it
on photo-quality paper, cut it out and glued it to the plywood
disk.
The whole thing snaps together...didn't even have to glue it.
Got done this evening, turned out pretty good.
Total out-of-pocket expense was about $4 for the original gauge. Had the plywood and wire sitting around.
Ron Wanttaja
Unfortunately, I had to pull it out when I rebuilt my electrical system, because that was the only place the transponder could go. Unfortunately, the Fun Meter was made from a 2" gauge, and there wasn't a clear piece of real estate on the panel big enough to reinstall it.
I considered modifying the gauge to have it
surface mount, instead of needing a hole in the panel, but there
still weren't any good spots on the panel that would fit it
without looking crowded.Also...well, I didn't want to hack up my old Fun Meter. If it broke up, I'd have nothing.
So I re-started from scratch. I found some 1.5" meters on Amazon, for the princely sum of $3.22 each.
Bought two, just in case. We're Amazon Prime, so got free shipping.
The meters were actually shipped from China, so it took almost two months to get here, but they finally arrived last week. The case is plastic with an aviation-style mounting flange. Yes, they're cheap meters...but they're held together with small Phillips screws, and disassemble pretty far.
Took just a couple of seconds to pull the innards
out. The plastic is pretty soft, and it took just a minute
to cut off everything behind the flange.One great discovery was a gray flanged ring on the inside; it fit entirely within the newly cut-off section, but the flange would hold the new instrument face a fixed distance from the clear front.
I used the old, metal face as a pattern, cut a
circle out of 1/16" plywood with a pair of scissors, and trimmed
it to fit inside.The new needle is a bit of 22 gauge electrical wire with white insulation. The lower front of the face has a bit screw head for adjusting the zero of the meter; the wire wrapped nicely around the inside stud connected and tacked on with a bit of super glue. This lets me actually adjust the reading.
I duplicated my old "Fun Gauge" face, printed it
on photo-quality paper, cut it out and glued it to the plywood
disk.The whole thing snaps together...didn't even have to glue it.
Got done this evening, turned out pretty good.
Total out-of-pocket expense was about $4 for the original gauge. Had the plywood and wire sitting around.
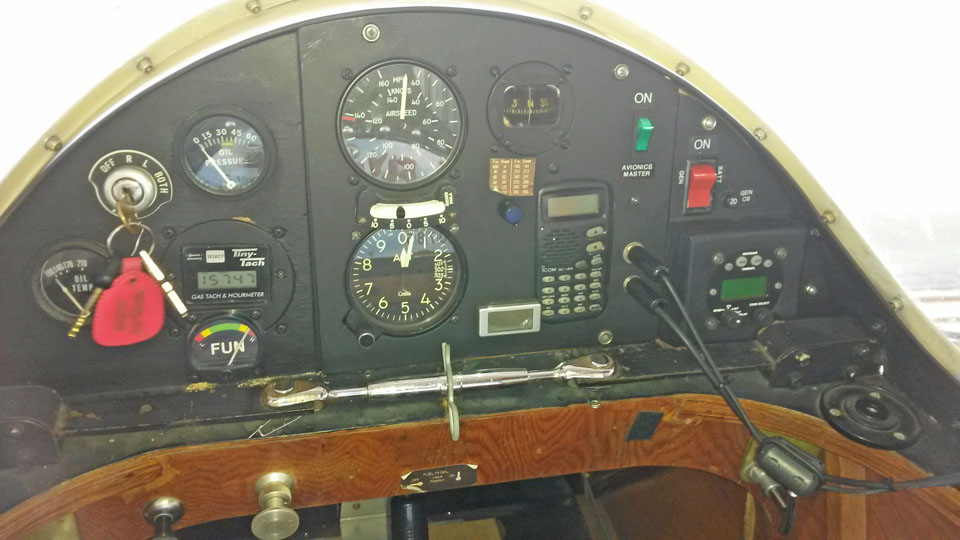
Installation
Here it is, installed in my Fly Baby's cockpit
on the lower left side, under the digital tachometer.
Bought some black #6 wood screws for installation.
Ron Wanttaja
 Return to the Stories Page