 Fly Baby Baggage
Compartment
 Fly Baby Baggage
Compartment
Text and Photos by Matt Michael
February
2010
As part of my modifications to make my Fly Baby a
more practical cross-country machine I built a baggage compartment and
added an auxiliary fuel tank. My aim was to keep weight to a
minimum and to avoid doing any significant modifications to the basic
design of the airplane. Simplicity of construction was also
important because I’m no expert craftsman and don’t have a lot of fancy
tools or money to spare.
Pete Bowers' “baggage bomb” idea looks kind of cool but I really didn’t
want anything extra hanging out in the breeze slowing the airplane
down. Looking at the fuselage one can see a lot of empty space
behind the
seat. Some quick C of G calculations showed that a fair amount of
weight could be placed there without exceeding limits.
In addition to the basic supporting structure, the fabric front and
rear panels also provide some support of the shelf. I used black
vinyl with metal snaps to secure these panels though velcro would work
well too. The rear panel is screwed to the back edge of the shelf
and the side and top snaps were mounted on thin wood sticks that were
screwed to the fuselage. An extra benefit of the front panel is
that it seals off the cockpit from the rear fuselage creating a much
smaller space to heat and also keeps items in the cockpit from
migrating out of reach during flight. It’s easy to snap this
panel free to inspect the rear wing pins and the entire baggage
compartment can be removed in about half a minute.
It’s SO great to have this relatively huge secure space to stash
stuff. Even for fun local flying I always have tie-downs, spare
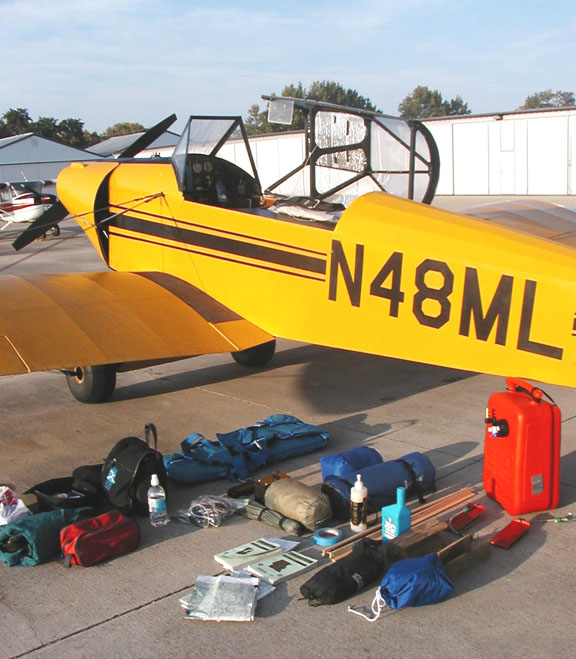
oil, chocks, whatever… For long trips I can really pack in a lot of
necessities including my
auxiliary fuel tank.
Matt Michael

 Return
to the Fly Baby Tech Talk Page